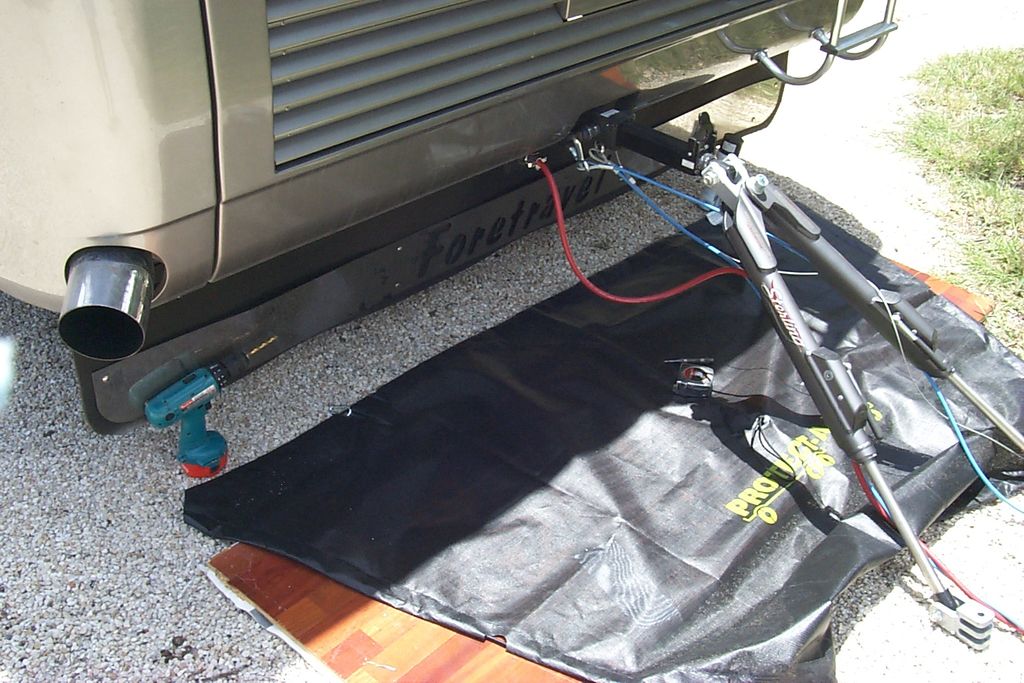
Blue Ox Towbar Maintenance
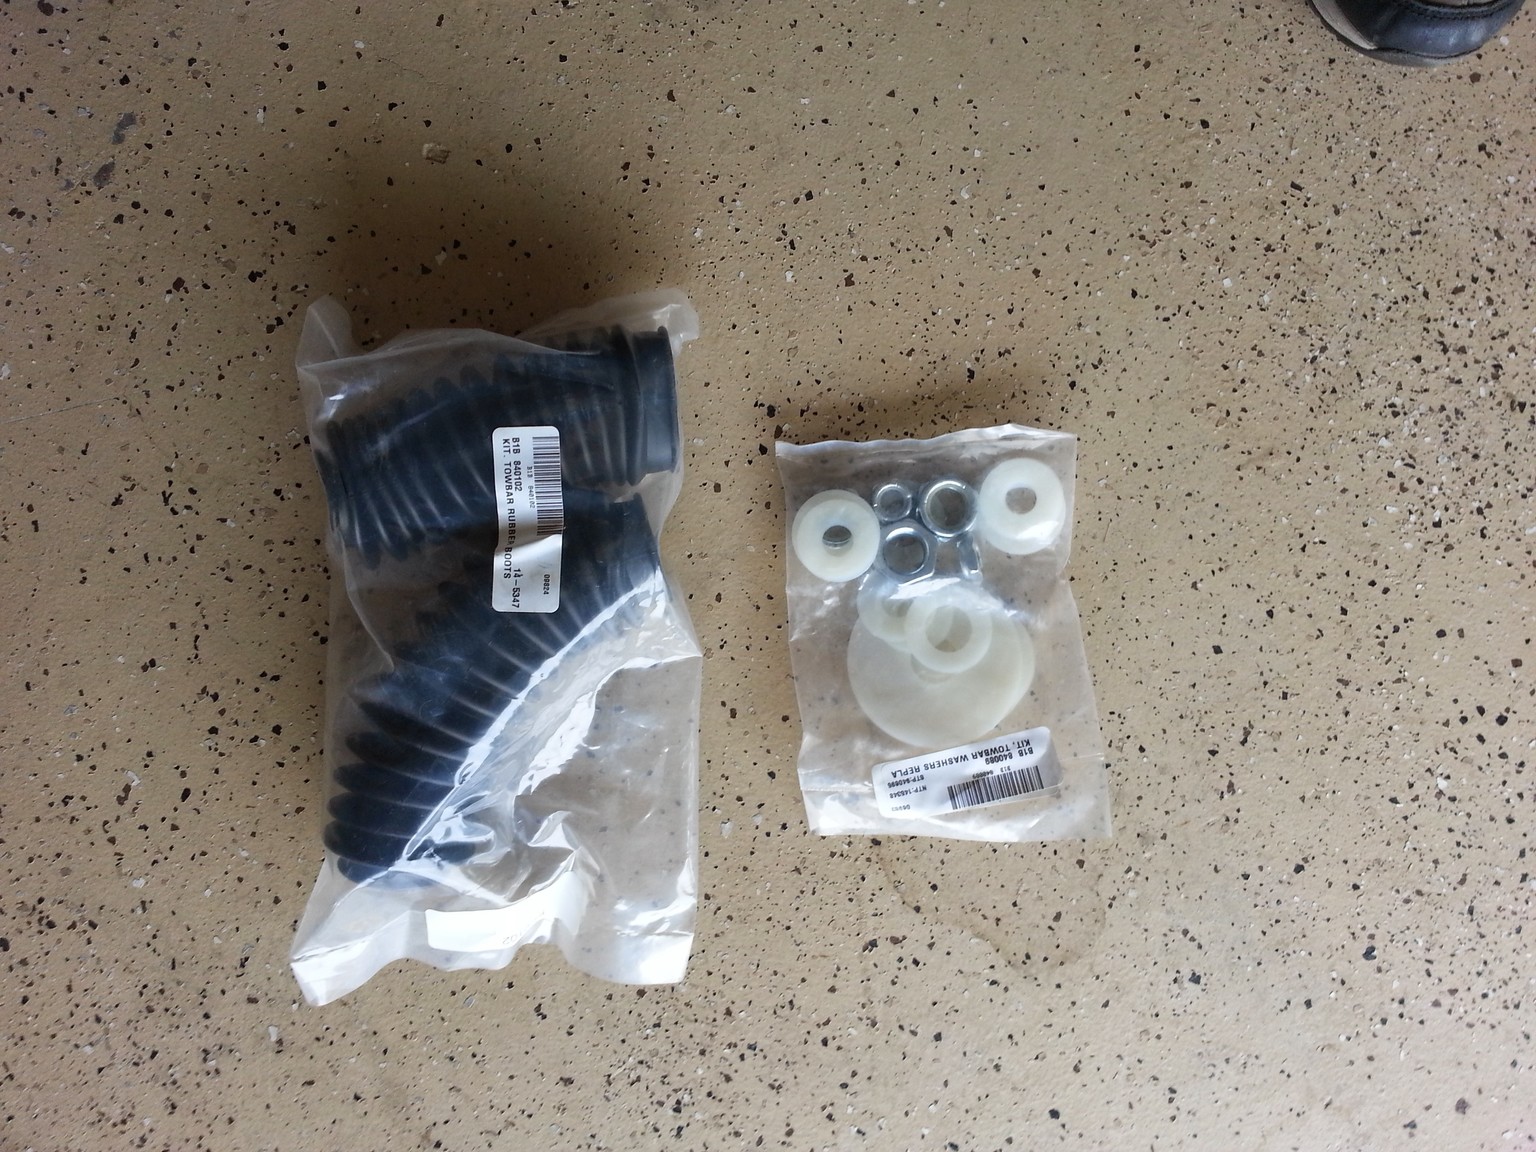
Time for some tow bar maintenance! Our Blue Ox Aventa LX has served us well, but was getting a bit stiff to move ball-in-socket and the arms, plus there were some creaks, squeaks and groans (Oh My) when any of them were moved.
Blue Ox sells basic maintenance kits for those who want to do this themselves, it’s a new set of washers and lock nuts to replace on your existing bar. You can also find them on Amazon: Blue Ox BX88382 Replacement Washer Kit and the boots as well Amazon: Blue Ox Replacement Rubber Boots
There is a very good follow along video on Youtube on how to do all this. If anyone does this themselves, watch the video a couple of times. Blue Ox Towing (Sadly BlueOx removed this as this specific tow bar is not longer available)
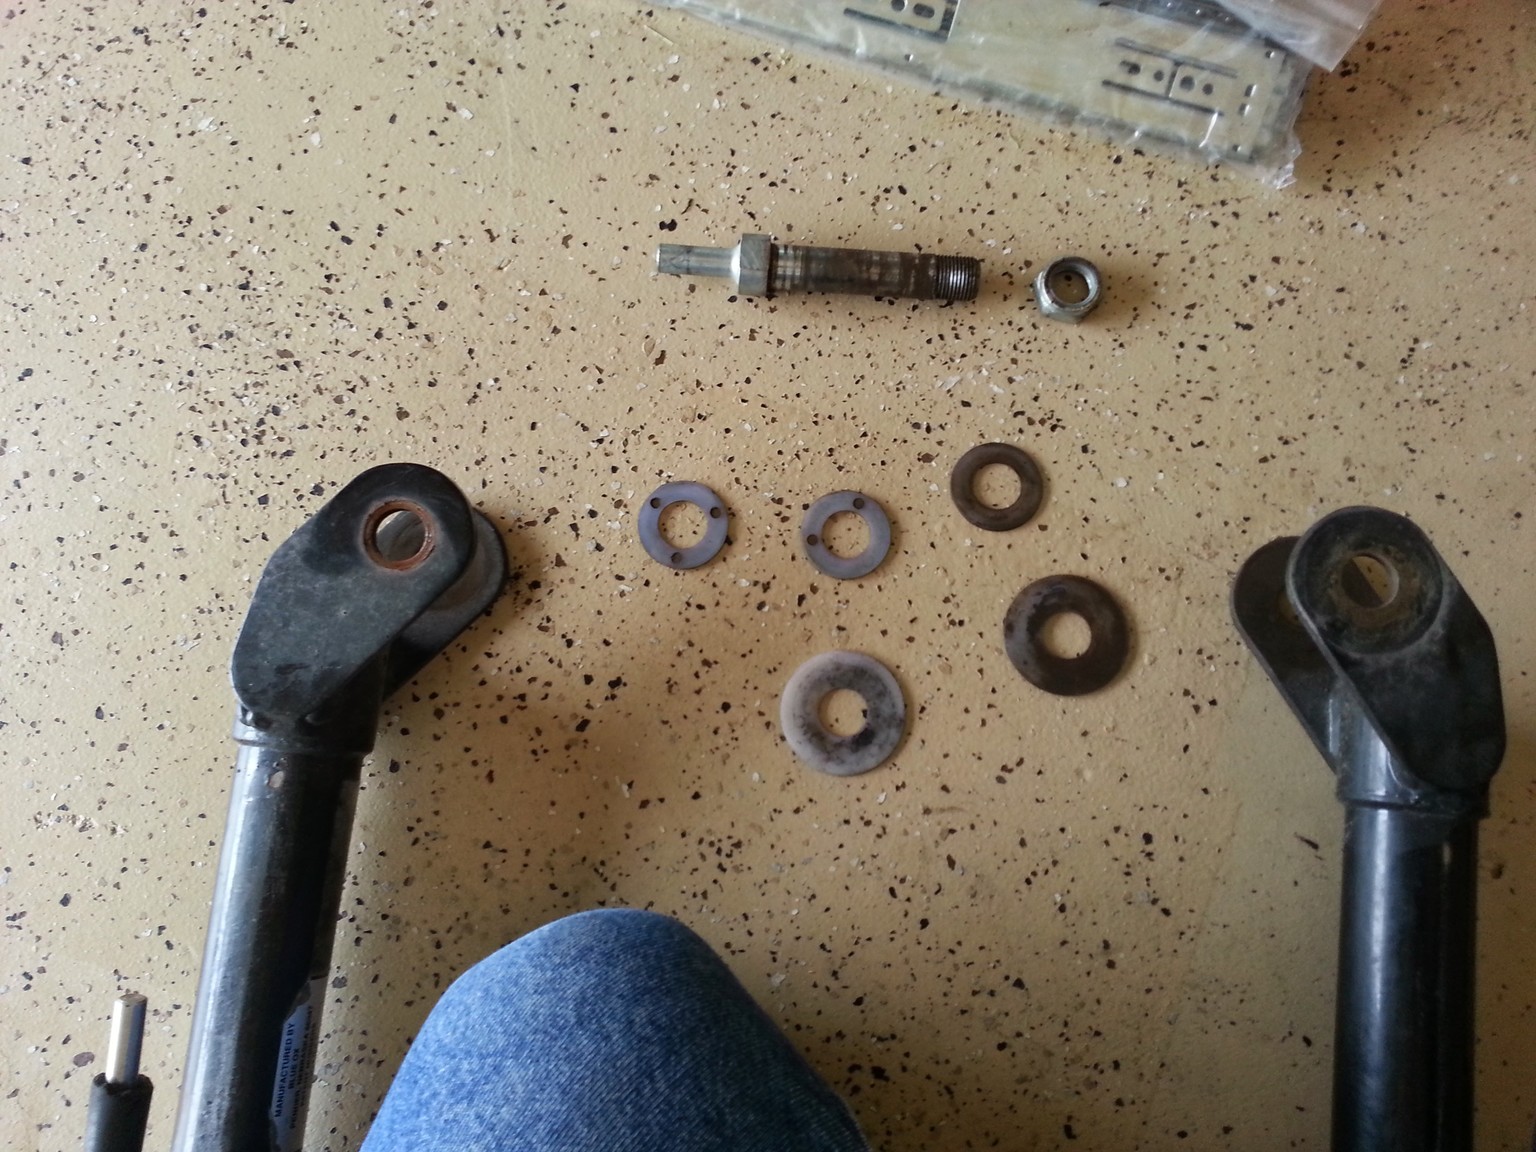
Removing the arms just requires removing the hinge pin bolt, then the arms come right off. There were 5 plastic washers to replace in that joint. Keep track of how many were on top and below so you remember where to put the new ones.
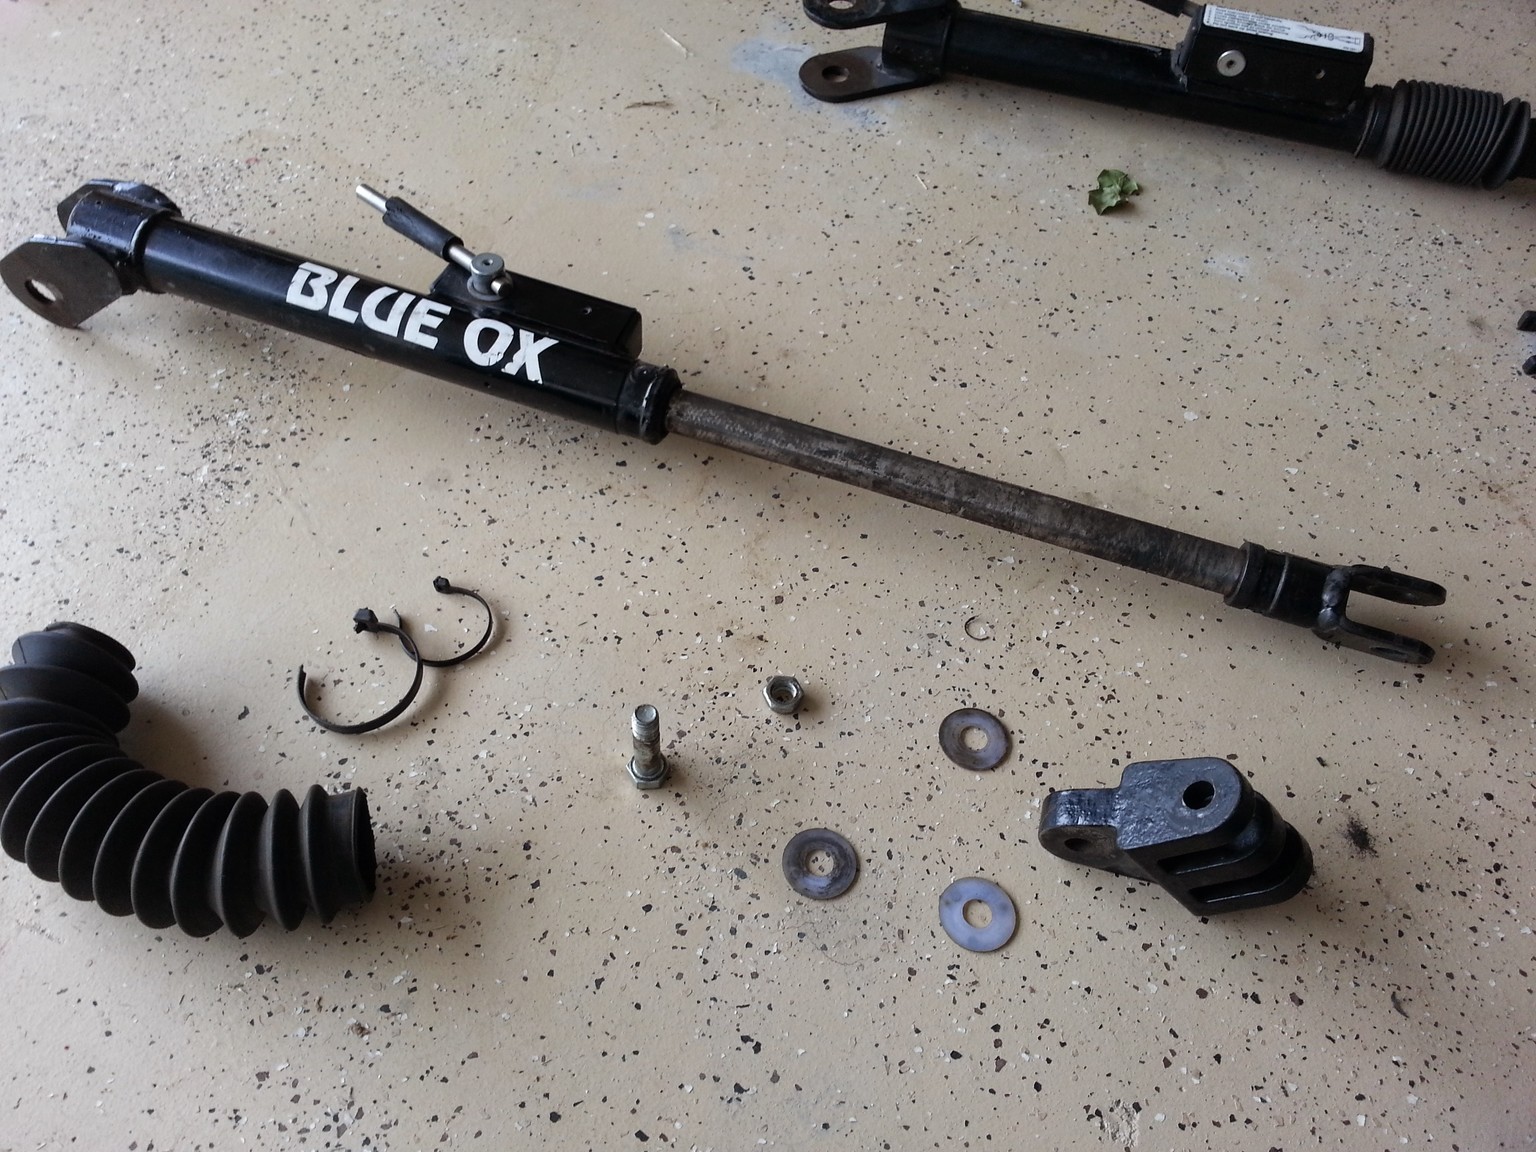
The triple lug ends were also removed with a single bolt on each, there were 3 plastic washers in each of those joints. We also got new boots for the arms, so the old ones were pulled off at this time.
The arms then had all the old grease cleaned off (silicon spray is a perfect cleaner for this) and the washer joint surfaces cleaned. Slide on the new boots, then apply a light coating of general purpose lithium grease only to the arms. The triple lugs with new washers and new locknuts were put back on. Final step is securing the boots with the supplied zip ties.
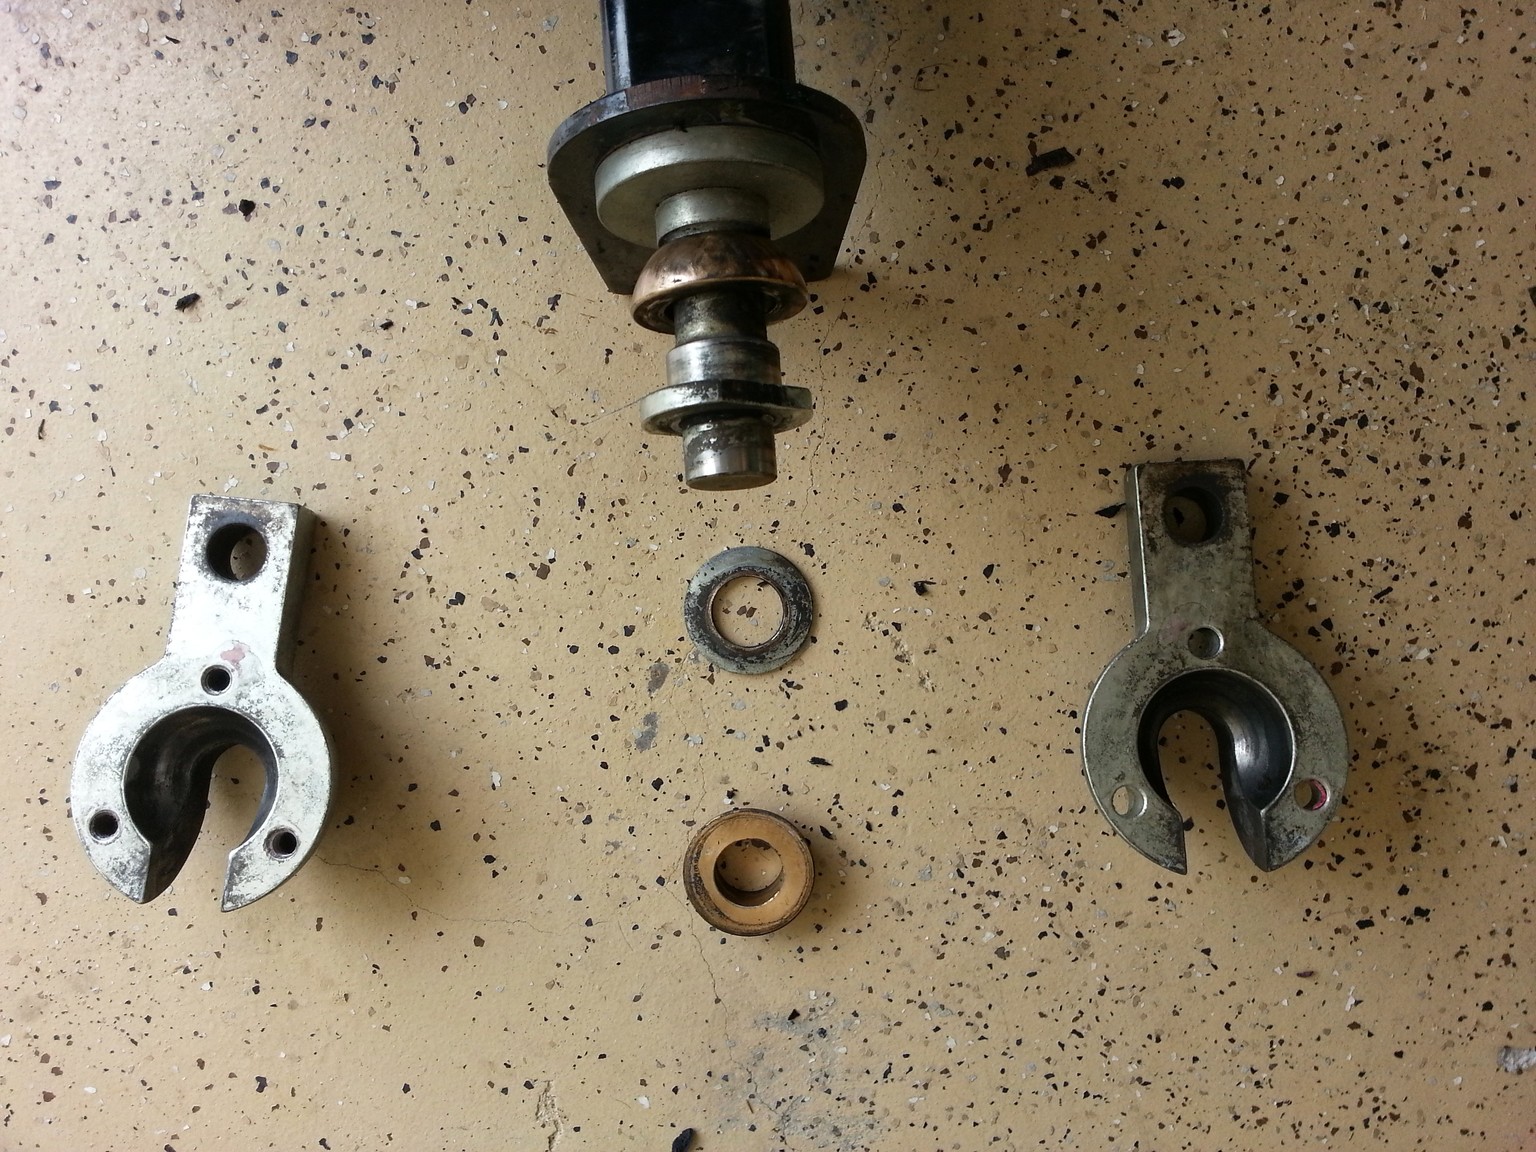
The ball-in-socket comes apart by removing 3 bolts and then the two ball halves open like a shell. On ours I’d say one was tight, one was very tight, and one had issues. Although they got some liquid W assist, the one with issues snapped on removal. On separating the two halves there was plenty of that one sticking up to grab on to and remove. I think it was just a combination of red Loctite and road grime that had it locked in place. Probably a short touch of heat to the heads would have taken care of the Loctite, but that’s assuming you watched the video first and knew there was some in there
There are no parts to replace in the ball socket area, all you really have to do is clean all the surfaces and leave them dry, no lube, check the fit of everything and reassemble the cleaned parts.
This is also a good opportunity to pretend you don’t have the right torque wrench because what you really want is a new one, then send your wife to get one 35 ft-lbs and red Loctite on the bolts (I replaced them all with new hardware, not just the one that snapped)
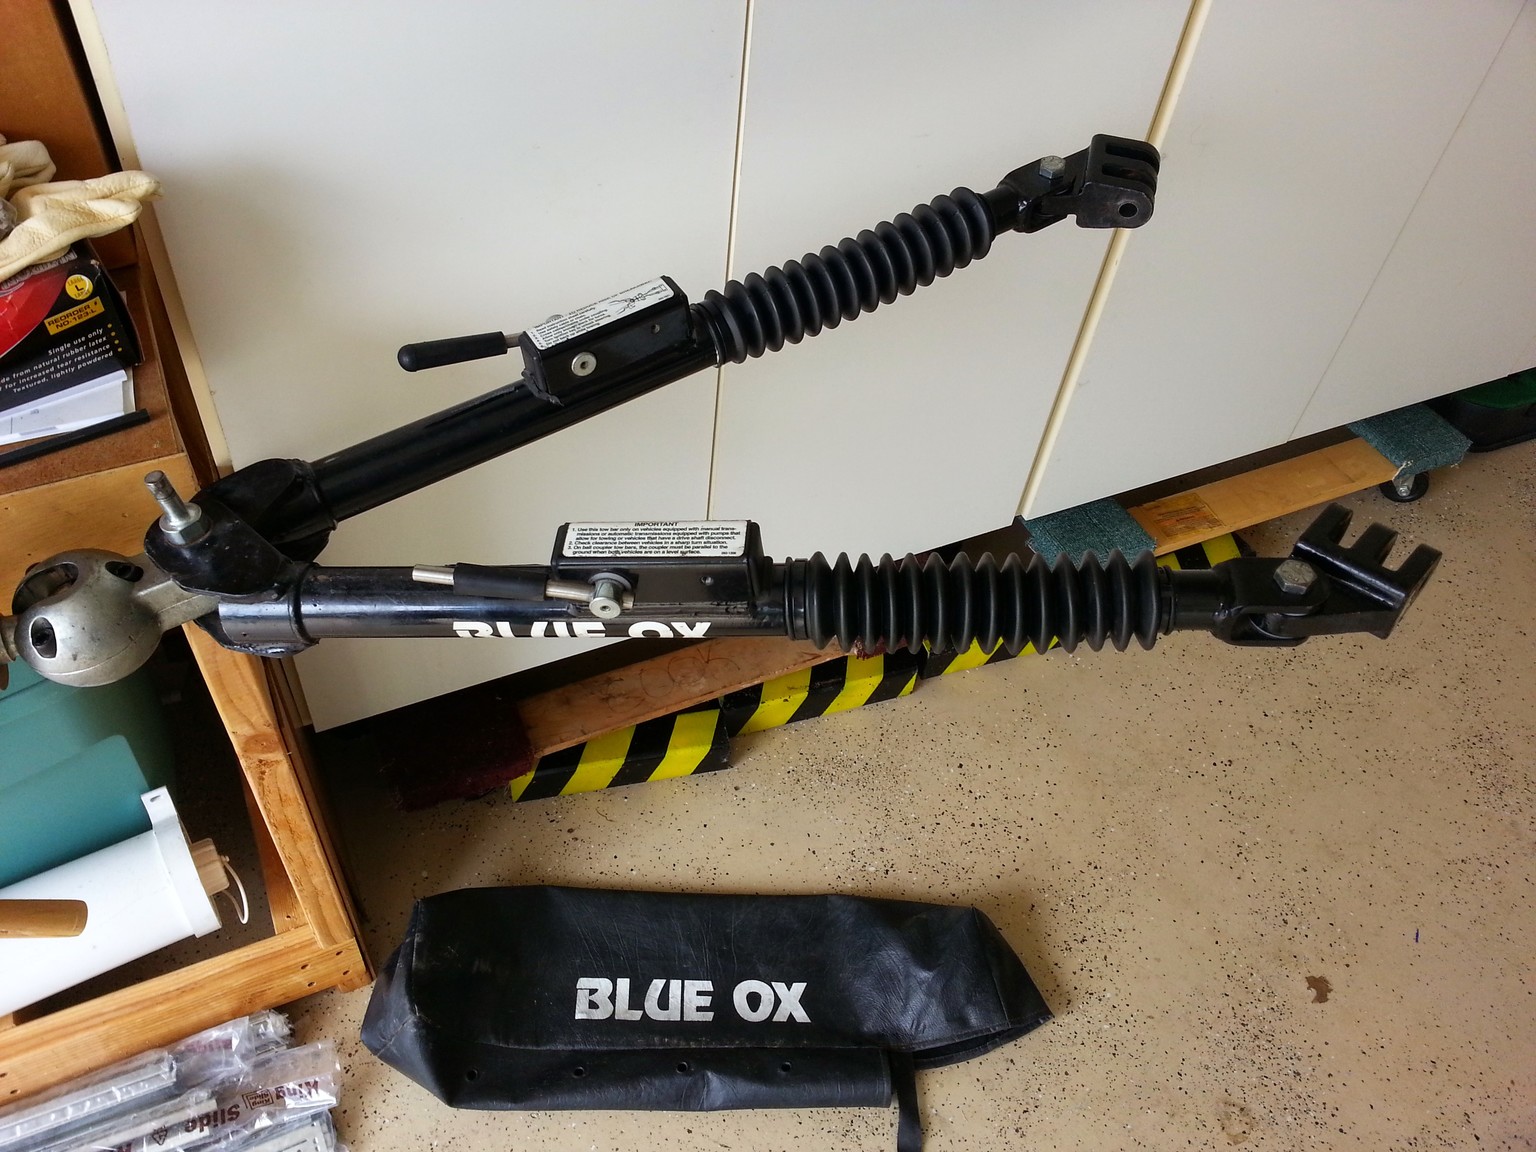
The arms go back on like they came off, but helping hands are very good to have as getting the 5 washers (on ours) to stay in place while you position the arms back on the ball socket can be tricky. Then you get that stack lined up so you can insert the hinge pin bolt down through the stack. This also came with a new lock nut to replace what you removed.
Well that’s it, the cleaning and new washers made everything move much more smoothly, feels more like it did when we first got it.


